一 : Photoshop打造出唯美的中秋霓虹光斑字
效果图基本上用画笔来完成。过程:先设置好想要的笔刷,然后调整不同的大小给文字描边路径得到初步的光斑字;用渐变给文字加上彩色霓虹效果;再给文字增加高光,并调整颜色即可。
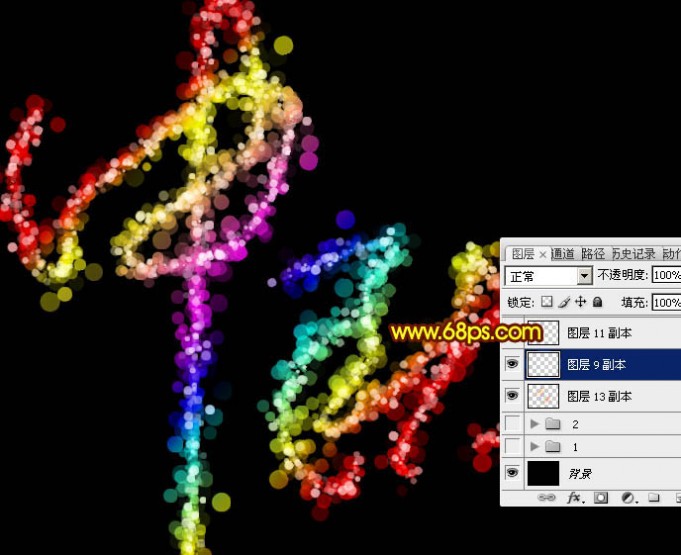
最终效果

1、新建一个1000 * 750像素,分辨率为72的画布,背景填充黑色,然后新建一个组。
保持图1所示的文字素材,文字为PNG格式,用PS打开后拖到新建的组里面,调整好位置,如图2。

<图1>
<图2>
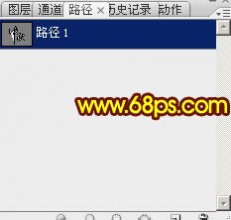
2、选择钢笔工具,进入路径面板,新建一个路径,按照文字的笔画勾出路径,如下图。

<图3>
<图4>
3、现在来制作一款简单的笔刷。新建一个100 * 100像素的画布,背景选择白色。
新建一个图层,选择椭圆选框工具,样式选择“固定大小”,然后把宽度和高度设置为24px,然后在画布上点一下得到所需的正圆选区,并用油漆桶工具填充黑色,不透明度改为:50%,如图6。暂时不要取消选区。

<图5>

<图6>
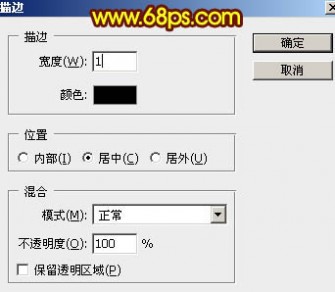
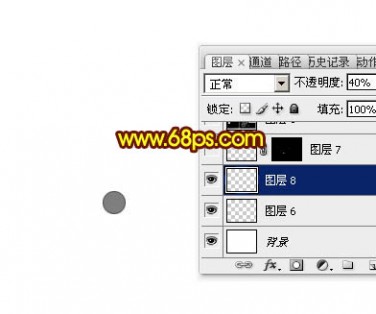
4、新建一个图层,选择菜单:编辑 > 描边,参数设置如图7,确定后把图层不透明度改为:40%,取消选区后效果如图8。
<图7>
<图8>
5、选择菜单:编辑 > 定义画笔,在弹出的对话框给画笔命名,如图9。然后关闭当前画布。

<图9>
6、回到之前的画布。选择画笔工具,按F5调出画笔预设面板,在画笔笔尖形状中选择刚才定义的24号画笔,直径设置为15px,其它设置如下图。
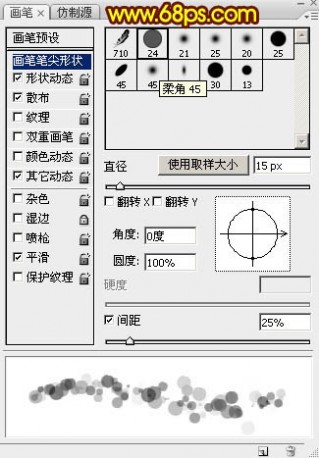
<图10>
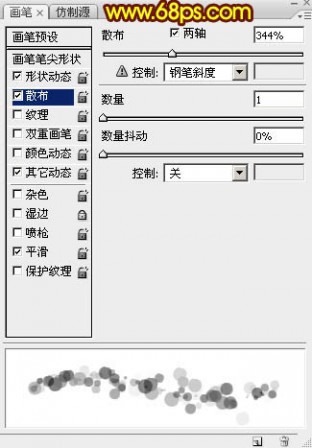
再设置形状动态,散布,其它动态参数设置如图11 - 13,然后勾选“平滑选项”,设置好后按F5隐藏画笔预设面板。

<图11>
<图12>

<图13>
7、在属性栏把画笔的透明度及流量都设置为100%,如下图。

<图14>
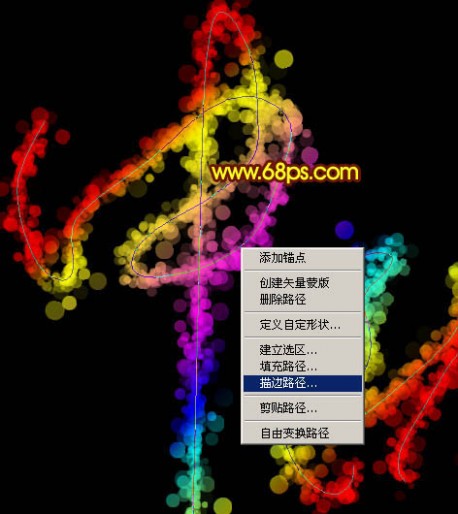
8、新建一个组,在组里新建一个图层,把文字组隐藏,前景色设置为白色。进入路径面板,调出文字路径。回到图层面板,选择钢笔工具,在路径上右键选择“描边路径”。

<图15>
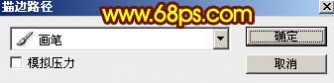
9、在弹出的对话框选择“画笔”,然后确定,如下图。暂时不要隐藏路径,后面还会用到。
<图16>
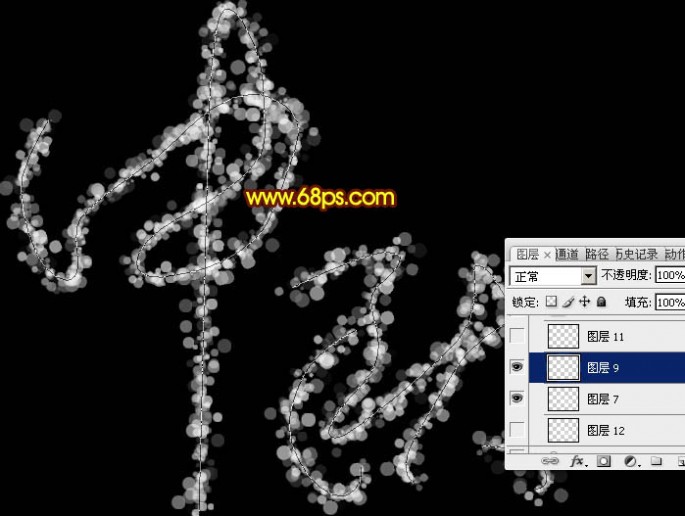
10、选择画笔工具,在属性栏把画笔大小设置为10px,新建一个图层,选择钢笔工具同上的方法描边路径,得到图18所示的效果。

<图17>
<图18>
11、新建一个图层,选择画笔工具把大小设置为5px,同上的方法描边路径。

<图19>
12、在当前组的最下面新建一个图层,把画笔设置为20px,同上的方法描边路径,得到图21所示的效果。

<图20>
<图21>
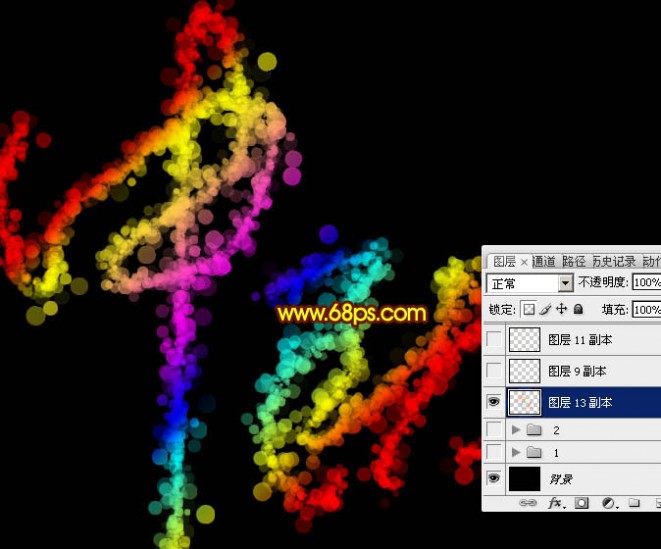
13、按回车隐藏路径,得到下图所示的效果。
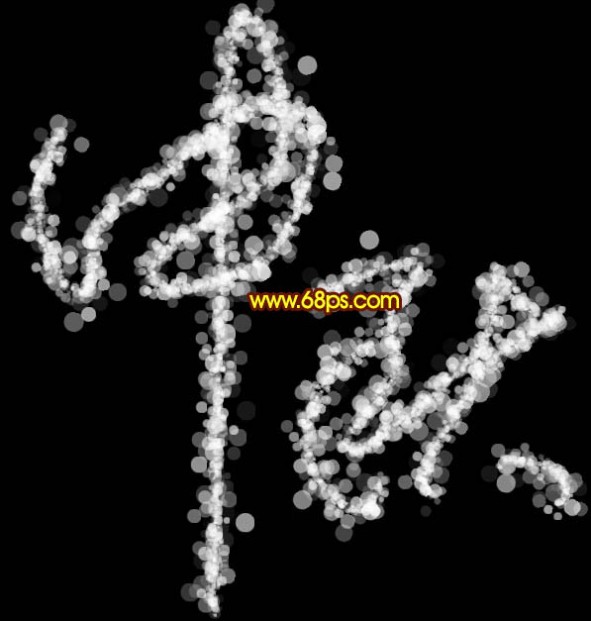
<图22>
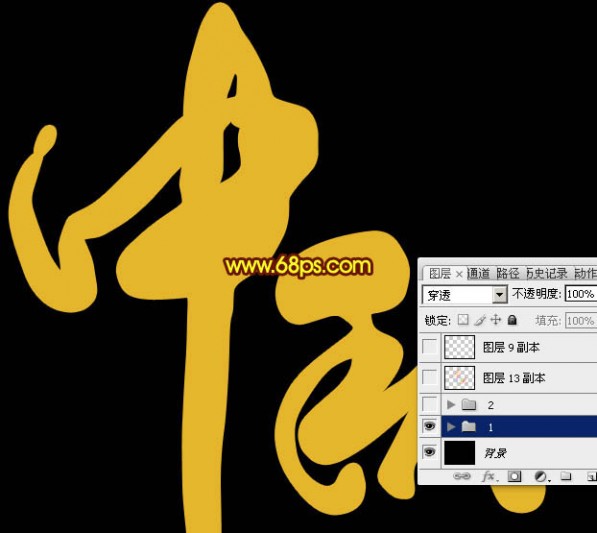
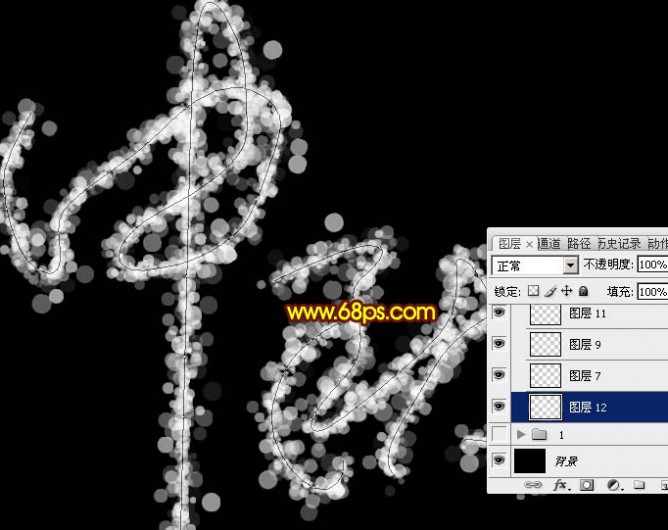
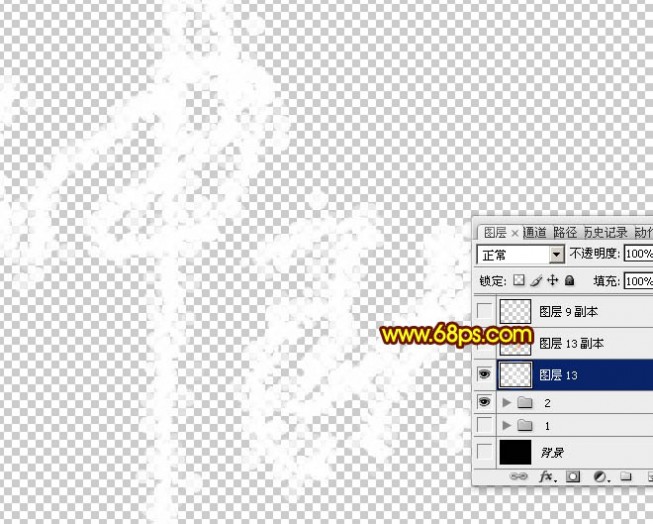
14、在图层的最上面新建一个图层,把背景图层隐藏,按Ctrl + Alt + Shift + E 盖印图层,如下图。然后把背景图层显示出来,其它的组都隐藏。
<图23>
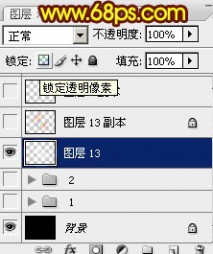
15、锁定当前图层的像素区域,如下图。
<图24>
16、选择渐变工具,在渐变编辑器中选择PS自带的彩虹渐变,如下图。
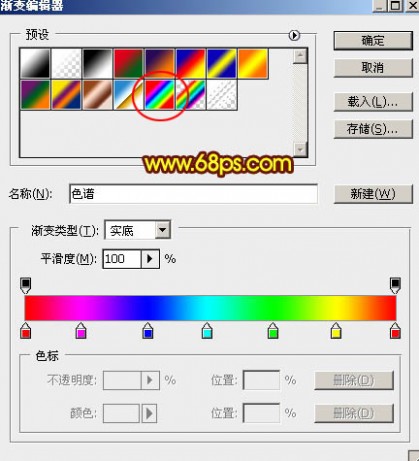
<图25>
17、由文字的左上角至右下角拉出彩虹线性渐变,如下图。
<图26>
18、文字还比较平淡,我们需要增加一点高光。新建一个图层,把文字路径显示出来,如下图。
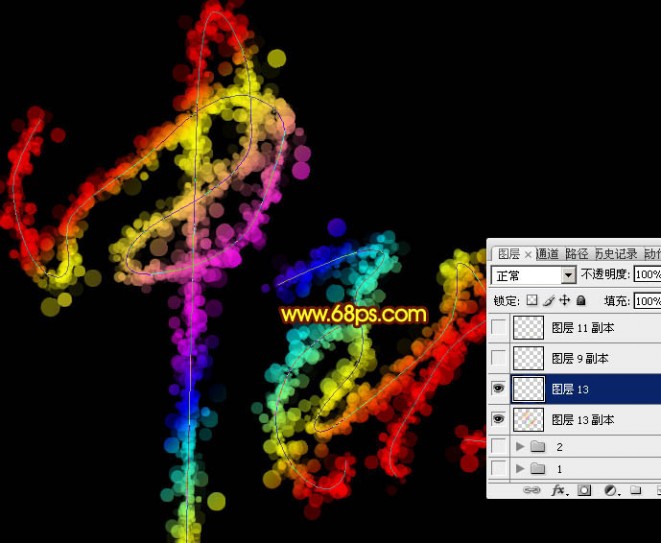
<图27>
19、把画笔设置为10px,用之前的方法描边路径,效果如图30。

<图28>
<图29>
<图30>
20、新建一个图层,把前景色设置为黄色,如下图。
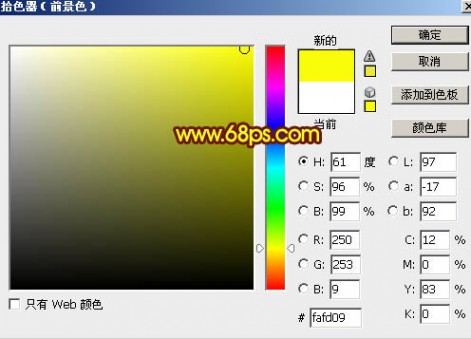
<图31>
21、把画笔大小设置为5px,然后描边路径,得到图33所示的效果。按回车把路径隐藏。

<图32>

<图33>
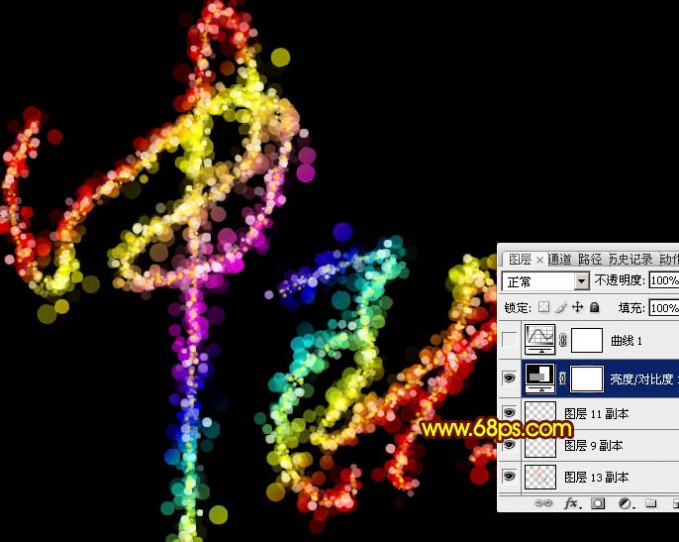
22、创建亮度/对比度调整图层,适当增加对比度,参数及效果如下图。

<图34>
<图35>
23、创建曲线调整图层,加强一下明暗对比,参数及效果如下图。
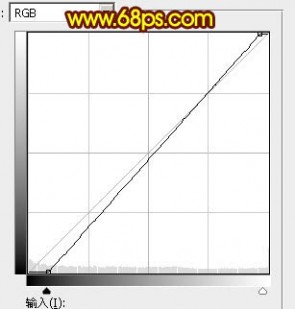
<图36>
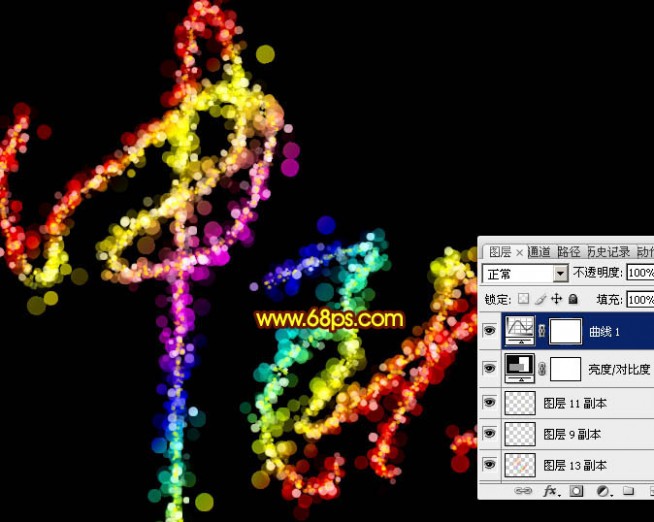
<图37>
最后调整一下细节,完成最终效果。
二 : photoshop制作酷炫十足的发光霓虹字体
海报上面的字体总是看起来酷炫十足,有没有想过自己也制作一次呢,今天小编来和大家分享制作发光霓虹字体的效果,快来加入吧~

步骤
首先我们新建一个画布,尺寸随意就好了,分辨率依然是72,背景色填充为黑色。然后选择文字工具,输入‘光点’。小编这里用的是思源字体,字号为164px,颜色为白色。

第二步我们在文字图层上右击选择栅格化图层,然后并复制一层。按住Ctrl,鼠标点击文字图层的副本,建立选区。选区建立以后,执行‘选择-修改-扩展’,扩展参数为4像素,再执行‘选择-修改-羽化’,羽化值为3个像素。


第三步我们把前景色设置成黄绿色,小编设置的颜色值是#c9ff54,然后我们进行填充。填充之后将它拖到光点层的下方,也就是说副本层在下方。

第四步我们将光点层的白色填充成黑色,因为之前我们栅格化图层了,所以我们不能直接换颜色,那么同样是Ctrl+鼠标点击建立选区,然后进行填充。

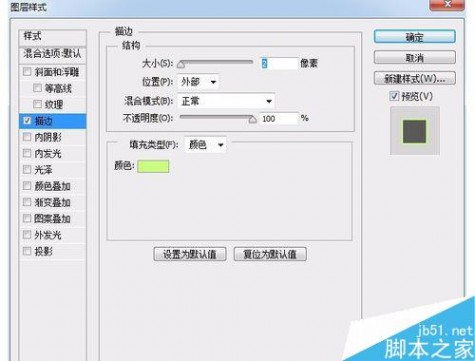
第五步我们将填充成黑色的光点层加一个描边,把前景色调成更为亮一些的黄绿色,小编的参数是#caff7f,然后我们双击图层调出样式框,选择描边,那么设置完以后,字体就完成啦!

以上就是photoshop制作酷炫十足的发光霓虹字体方法介绍,小编选的字体比较普通,只是做一个示范,大家可以尝试不同的字体,效果会更好~,希望这篇文章能对大家有所帮助!
三 : photoshop 霓虹灯字体制作教程
最终效果图:

素材下载:
字体
烟雾
第一步:
新建一个文档.1000X1000PX的,把前景色设置为白色,背景色为黑色。然后后滤镜>渲染>云彩。在按CTRL+F重复个2-3次。

第二步:
新建一个图层。使用渐变工具,颜色从#f30480为#000000,然后设置为叠加,不透明度为80%.

现在我们复制出一个渐变,然后按CTRL+T把它往上缩短,原图的就把他往下缩短,比例为:上2,下1,如下:

我们把上面的2个图层合并,然后新建一个图层,把他拖到背景渐变的下面。设置为白色,然后选硬笔刷,在图层上一个个的点击,点击一个就设置一个的不透明度和大小。圆画完后到滤镜,高斯模糊5px。

第三步:
现在我们把字体加进去。

然后添加混合样式,颜色分别为:#ff00c6和#ff008a


然后我们把最下面一排的文字栅格化,然后用选取工具复制出下面的部分,然后我们按CTRL+T选择垂直旋转,在高斯模糊,大小为:10px。

现在我们添加混合样式,颜色为:#ff739e。

现在我们在把最下面的一排英文字复制一个,然后拖到下方,按CTRL+T垂直旋转。设置如下:

第四步:
制作光线条,我们用矩形工具,话出几个长条来:

现在我们把矩形全部选取,然后按CTRL+T,让它往右边旋转一些角度,在设置他们的混合模式为“叠加”。就会得到下面的结果。

第五步:
现在我们来添加剂烟雾。把我们的素材下载下来。把他一块一块的选取出来,然后放到画布里面。在设置他们的混合样式就可以了。


后面还有几个小的步骤,我就不做了,大体的效果就是这样。大家可以下载源文件直接查看做法。源文件稍后几天献上最终效果图:
四 : Photoshop 墙壁上的霓虹灯文字
最终效果:

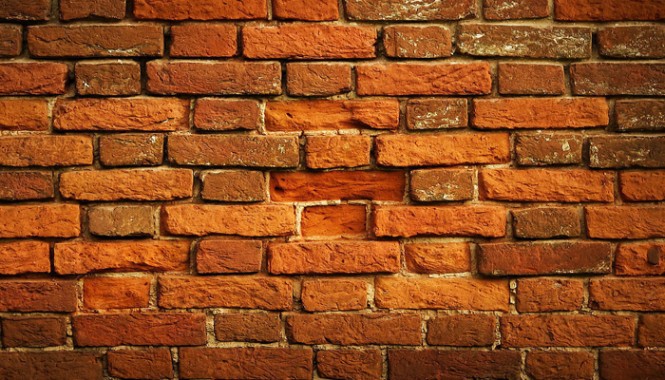
练习素材供大家学习:
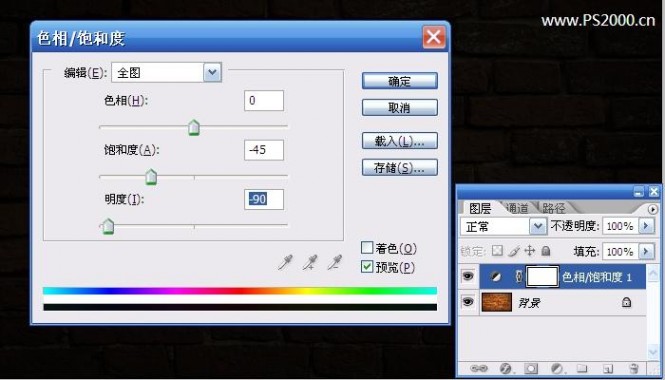
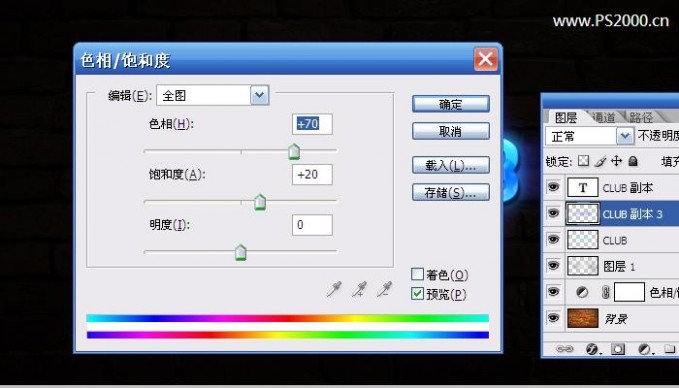
1、打开素材,新建色相/饱和度调整图层,设置如下图:
2、新建图层并将此图层设为颜色减淡模式。按D键恢复前、背景色为黑色。滤镜—渲染-云彩,尽量将中心部分设为高亮,可以按ctrl+F多试几次。

3、用橡皮擦擦去周围多余的部分,只保留中间部分的高光效果。

4、输入文字
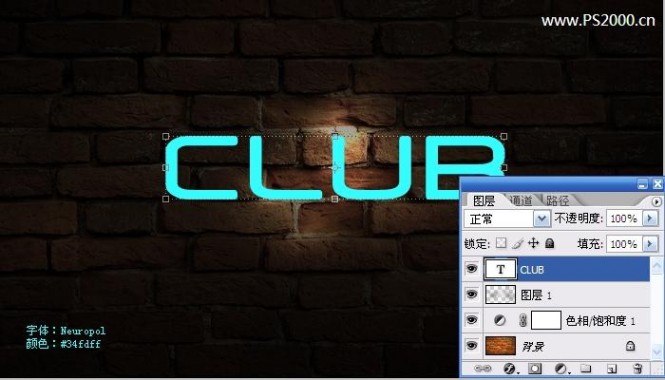
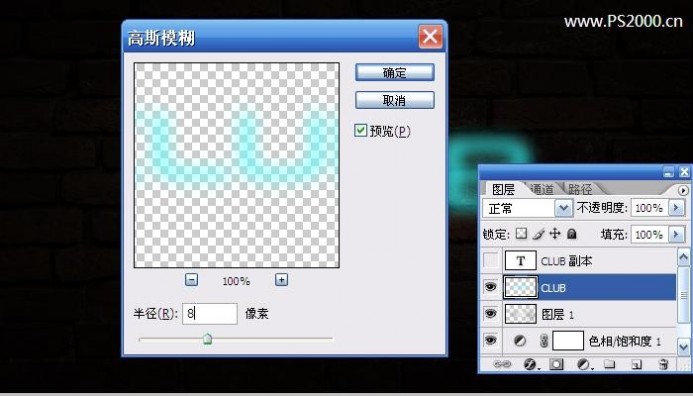
5、将文字图层复制1个备用,暂时隐藏显示。最底层的文字图层高斯模式处理
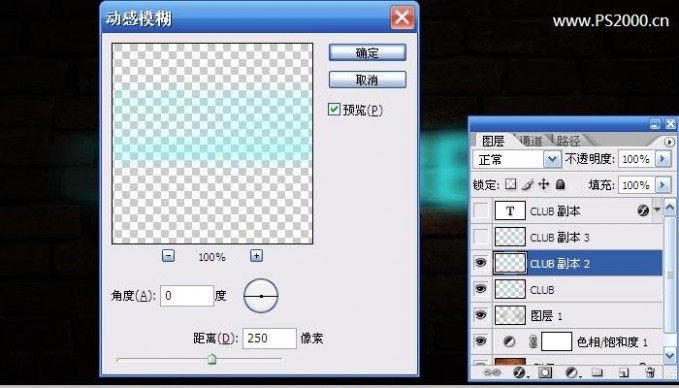
6、复制刚刚高斯模糊的图层,滤镜-模糊-动感模糊,角度0,距离250
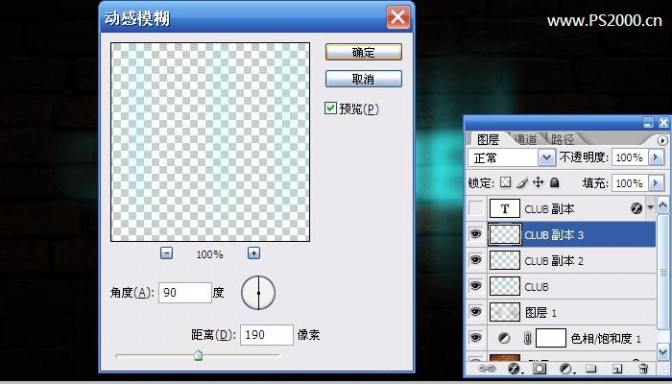
7、再复制一个高斯模糊的图层,滤镜-模糊-动感模糊,角度90,距离190
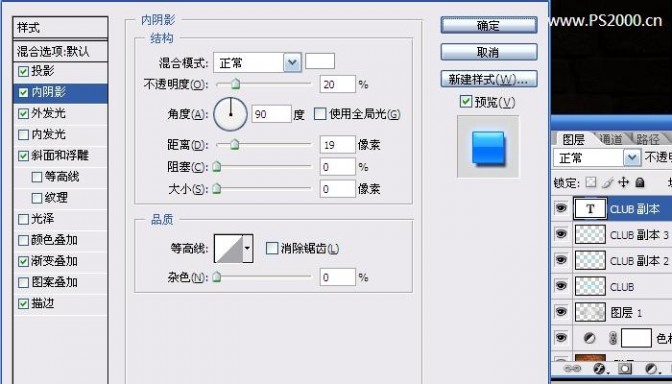
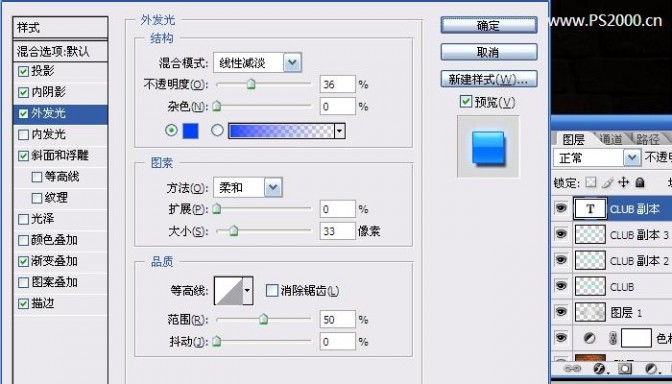
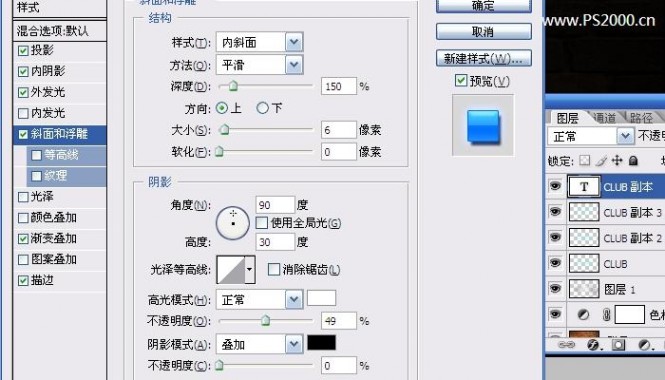
8、显示最上方的文字图层,依次设置如下图层样式:


9、合并做动感模糊的那两个图层,调整一下色相,使其发出深蓝光效果
10、最后再添加一些花纹装饰一下。最终效果如下:
本文标题:
霓虹灯字体-Photoshop打造出唯美的中秋霓虹光斑字 本文地址:
http://www.61k.com/1122736.html