一 : Photoshop 人物照片柔和的墨蓝色
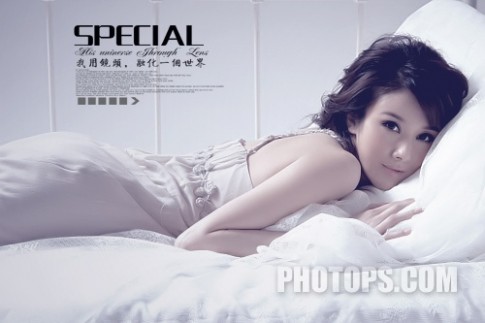
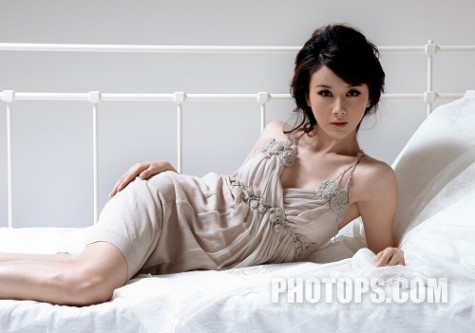
原图

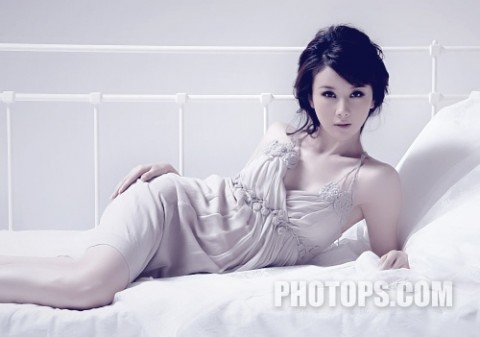
最终效果
1、打开原图,简单磨皮加锐化加暗角(方法自选,在这里不在多说。你也可以做完效果后,在磨皮加锐化看自己喜好!) 。
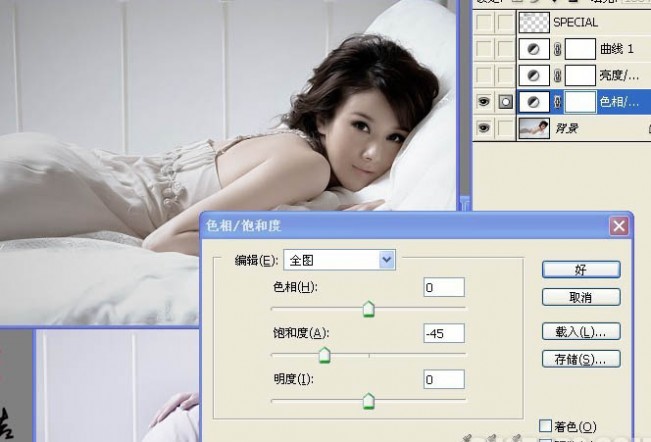
2、执行图层 > 新建调整图层 > 色相/饱和度,参数设置如下:
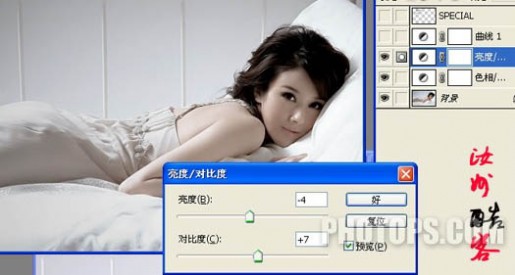
3、执行图层 > 新建调整图层 > 亮度/对比度,参数设置如下:
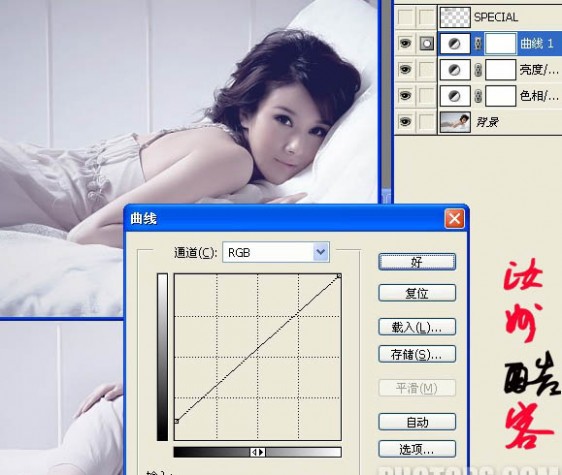
4、执行图层 > 新建调整图层 > 曲线,参数设置如下:

最后添加文字,完成最终效果:
其它图片调色后的效果如下图:
二 : Photoshop为人物照片添加梦幻的彩色的心形
原图
最终效果

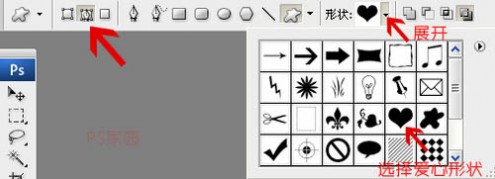
1、打开原图,选择自定义形状工具(快捷键U),在属性面板设置成路径,展开形状,选择PS自带的爱心形状。
2、建一个图层,按往shift+alt 用鼠标拖出一个爱心的形状。按住ctrl 再按回车 载入选区。用纯黑色填充选区。如下图:
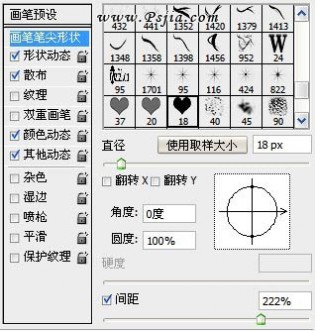
在编辑菜单,选择画笔预设,将你画的爱心定义成画笔,然后将这个新建的图层删除,后在不需要用到它了。
3、选择你刚定义好的画笔,按F5进行画笔设置。所有设置见下面图示(仔细设置,这步很关键): 调间距:
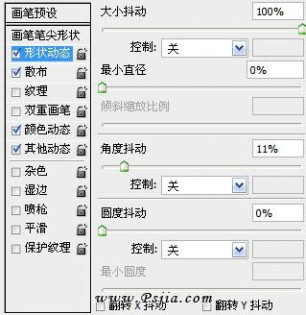
调大小和角度抖动:
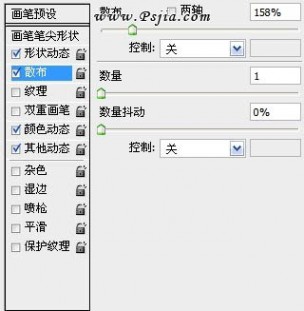
调散布:
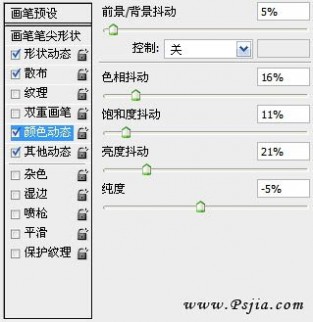
调前景色背景色的抖动,颜色我选择的前景色和背景分分别是 #f4ff9f 和 #ffe6cd:
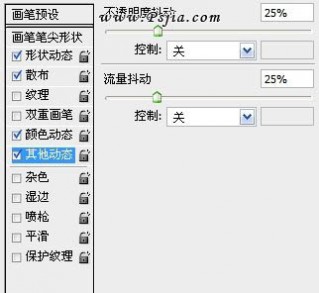
透明度抖动:
4、新建图层,取名爱心,再通过自定义形状工具,画两个较大的爱心形状路径。如图:

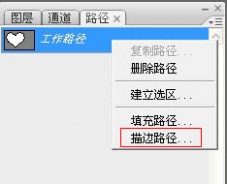
5、进入路径面板,按B键切换到画笔工具,右键单击形状选择描边路径。
6、此步完成后的效果如下。切换到路径面版 右键删除路径。

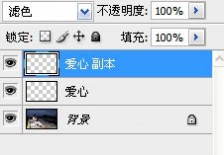
7、复制刚绘制的爱心层,选择滤镜-模糊-高斯模糊,数值2,并奖该图层的图层模式改为滤色。

8、选择圆形的柔角画笔,设置画笔不透明度30%,用鼠标沿爱心大致涂鸦一圈,如下图:

9、再将这个图层模式改为柔光,到此步为止的效果如下图:

10、为照片再添加光斑效果,选择圆形笔刷,同样按F5进行设置,具体设置我在这就不写了。最终效果如下图:
三 : Photoshop 为偏色的人物照片加上蜜糖色
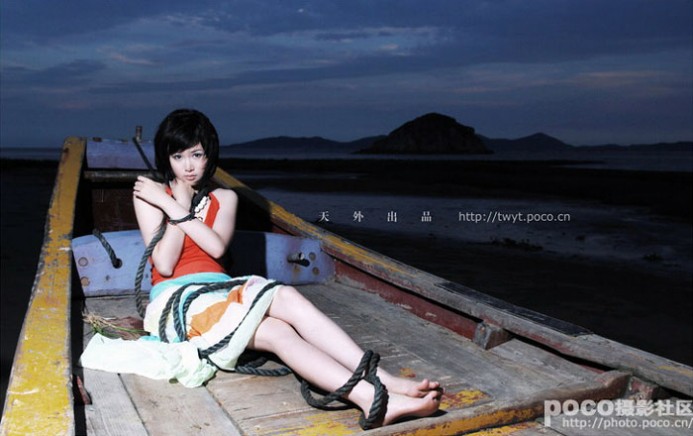
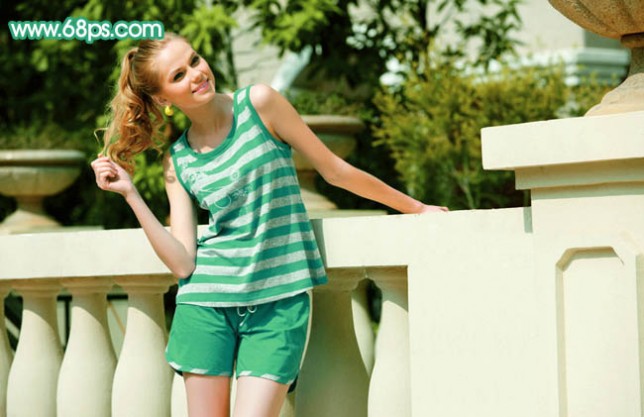
原图

最终效果
1、打开原图素材,发现人物的衣服部分颜色有点刺眼,需要换一个颜色。创建可选颜色调整图层,参数设置如图1 - 4,效果如图5。
<图1>
<图2>
<图3>
<图4>

<图5>
2、如果觉得衣服色彩还不好看的话把当前的可选颜色图层复制一层,图层不透明度改为:50%,如下图。
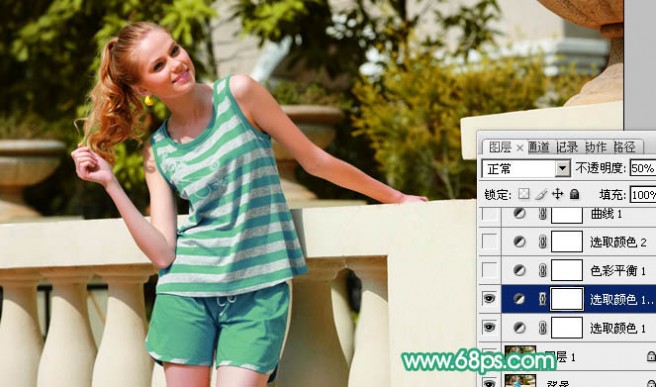
<图6>
3、创建色彩平衡调整图层,对暗调及中间调进行调整,参数设置如图7,8,效果如图9。
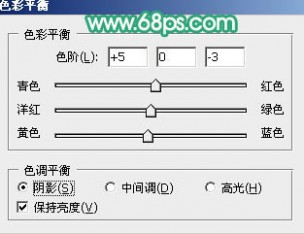
<图7>
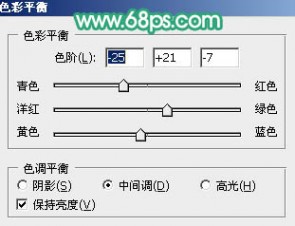
<图8>

<图9>
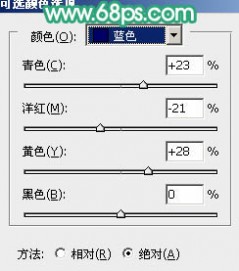
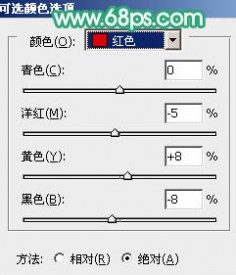
4、创建可选颜色调整图层,对红色进行调整,参数设置如图10,效果如图11。
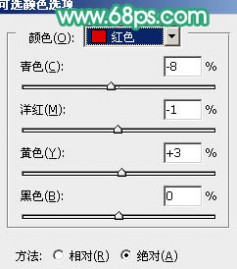
<图10>

<图11>
5、创建曲线调整图层,对红,绿,蓝进行调整,参数设置如图12 - 14,效果如图15。
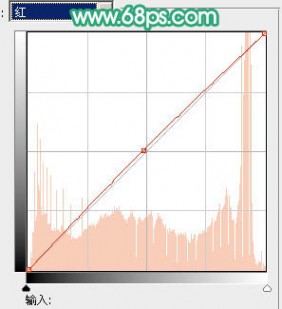
<图12>
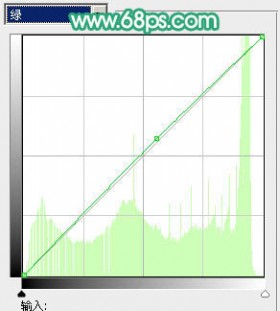
<图13>

<图14>

<图15>
6、创建通道混合器调整图层,对蓝色进行调整,参数设置如图16,效果如图17。
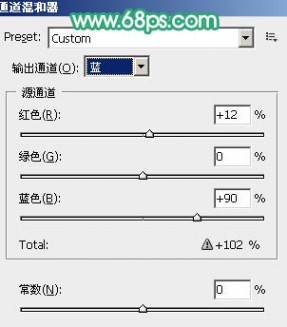
<图16>

<图17>
7、创建可选颜色调整图层,对红色进行调整,参数设置如图18,效果如图19。
<图18>

<图19>
8、创建色相/饱和度调整图层,适当降低全图的饱和度,参数设置如图20,效果如图21。
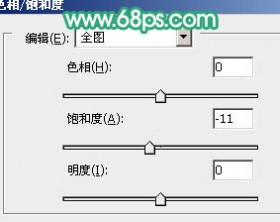
<图20>
<图21>
9、新建一个图层,按Ctrl + Alt + Shift + E 盖印图层,图层混合模式改为“滤色”,图层不透明度改为:15%,效果如下图。

<图22>
10、新建一个图层,填充颜色:#462054,图层混合模式改为“滤色”,图层不透明度改为:10%,效果如下图。
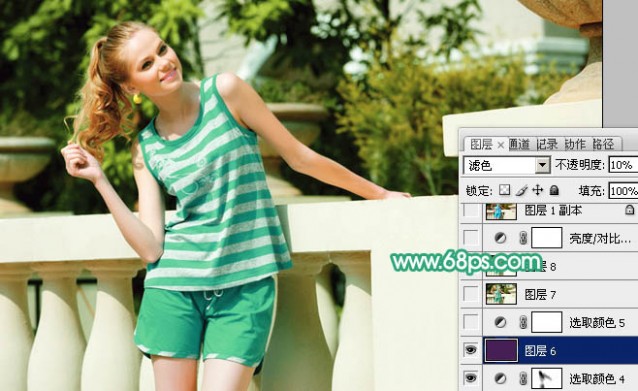
<图23>
11、创建亮度/对比度调整图层,参数设置如图24,效果如图25。

<图24>

<图25>
12、最后调整下整体颜色,完成最终效果。
四 : Photoshop调出外景人物照片清爽的夏日色彩
制作的过程有任何疑问可以加作者的QQ:443796339。
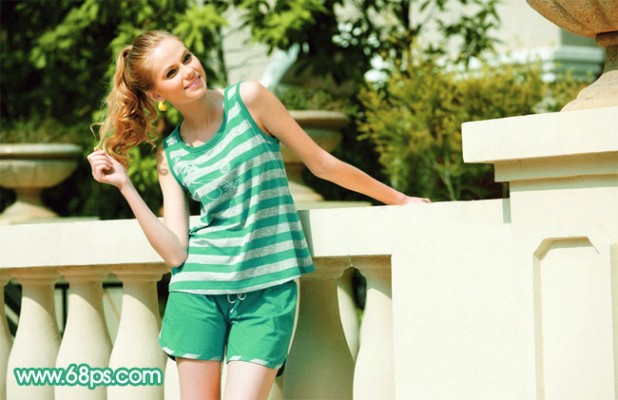
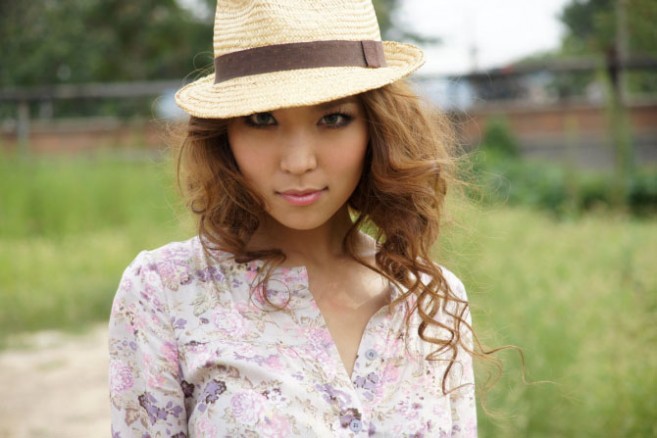
原图
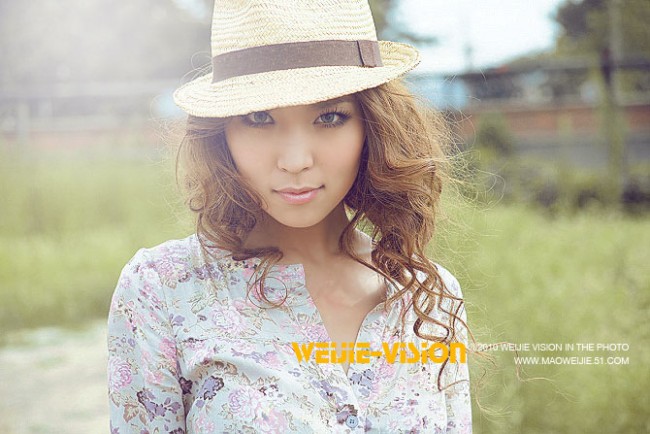
最终效果
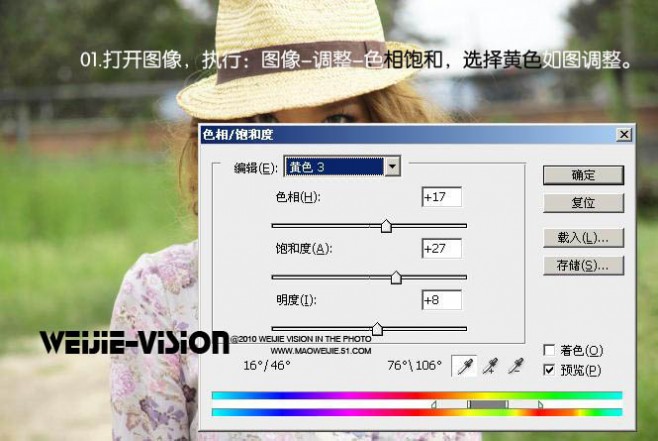
1、打开原图素材,执行:图层 > 新建调整图层 > 色相/饱和度,选择黄色,用吸管吸取背景主体色调,然后调整,参数设置如下图。
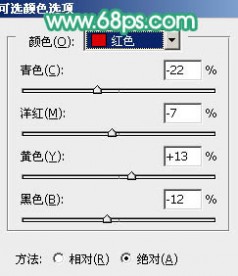
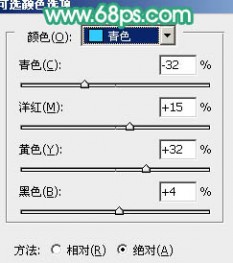
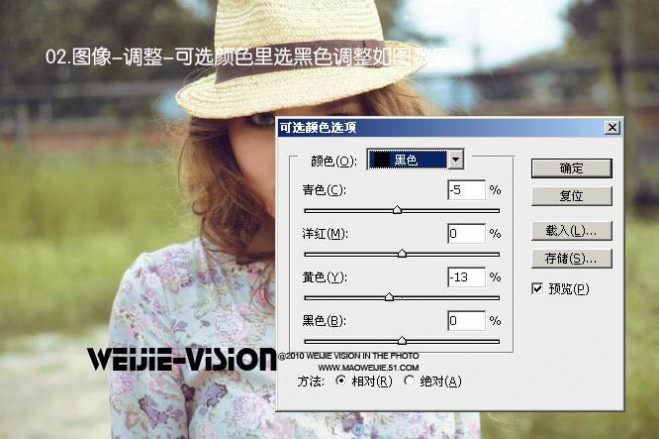
2、执行:图层 > 新建调整图层 > 可选颜色:
选择黑色,参数设置如下图。
3、选择白色,参数设置如下图。

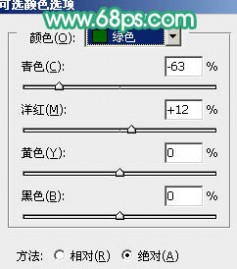
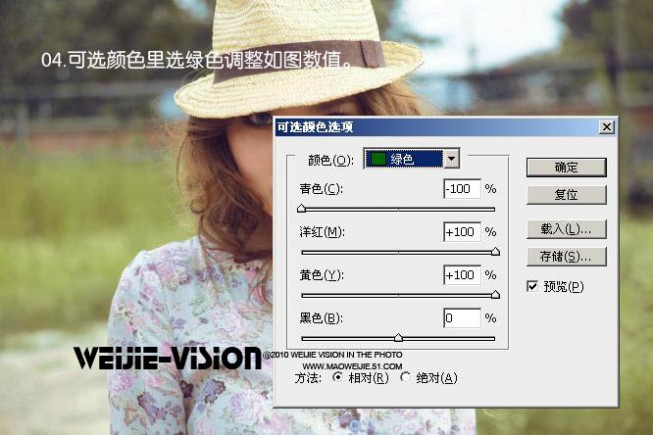
4、选择绿色,参数设置如下图。
5、选择黄色,参数设置如下图。

6、新建一个图层,填充粉红色:#FF91B4,图层混合模式改为“柔光”,图层不透明度改为:27%,如下图。

7、新建一个图层,填充青色:#91FDD9,图层混合模式改为“柔光”,不透明度设置为:30%,如下图。

8、新建一个图层,用椭圆选框工具在图层的左上方拉一个椭圆选区,按Ctrl + Alt + D 羽化50个像素后填充白色,如果觉得不够自然可以适当高斯模糊。再降低图层不透明度。最后合并图层,适当锐化一下,完成最终效果。
本文标题:
色彩静物照片-Photoshop 人物照片柔和的墨蓝色 本文地址:
http://www.61k.com/1097797.html