一 : Photoshop调出人物图片淡青的非主流色调
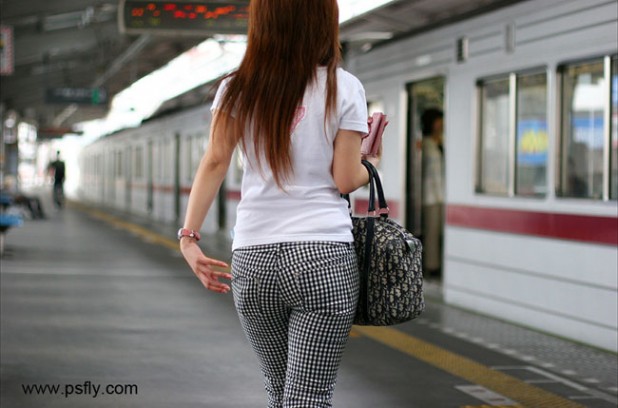
原图
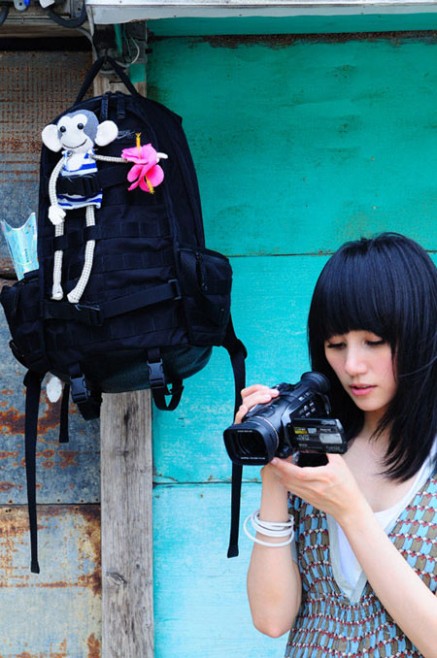
最终效果

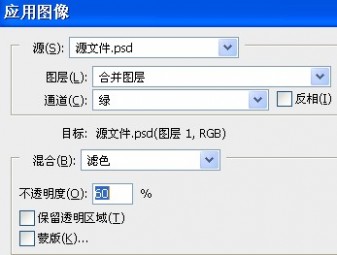
1、打开原图,ctrl+j得到图层1。 2、执行图像——应用图像,参数如图。
3、新建调整图层,照片滤镜,参数如图。

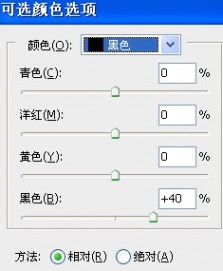
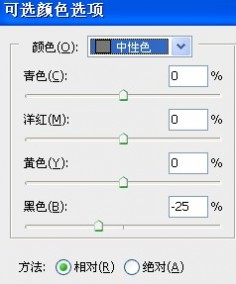
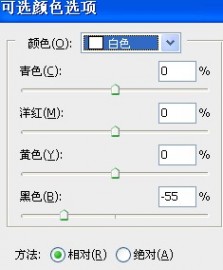
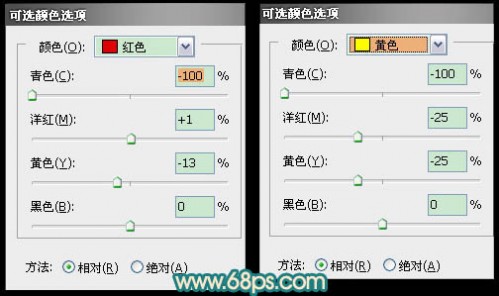
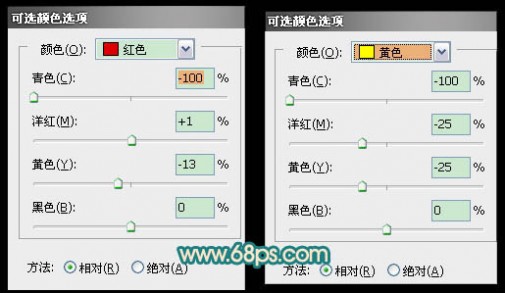
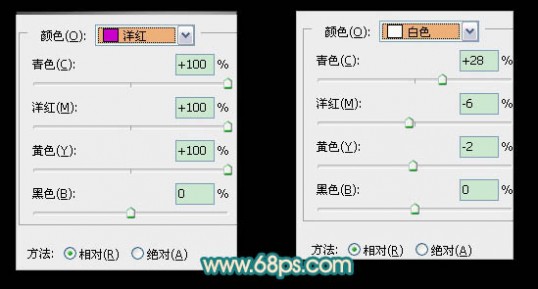
4、新建调整图层,可选颜色,参数如图。
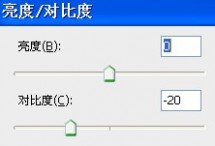
5、新建调整图层,亮度/对比度 参数如图。
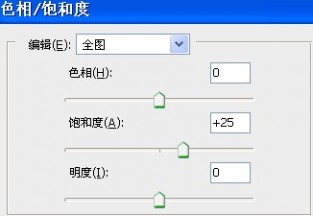
6、新建调整图层,色相/饱和度,参数如图步骤。
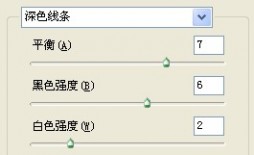
7、alt+ctrl+shift+e,盖印图层,得到图层2。 8、执行滤镜——滤镜库——深色线条,参数如图。
9、将图层2的混合模式改为“柔光”,不透明度50%。 10、alt+ctrl+shift+e,盖印图层,得到图层3。
11、TOPAZ锐化,轻微磨皮,再加些适合的文字,完成最终效果。
二 : photoshop中CMYK模式下快速打造暗青色非主流图片
原图
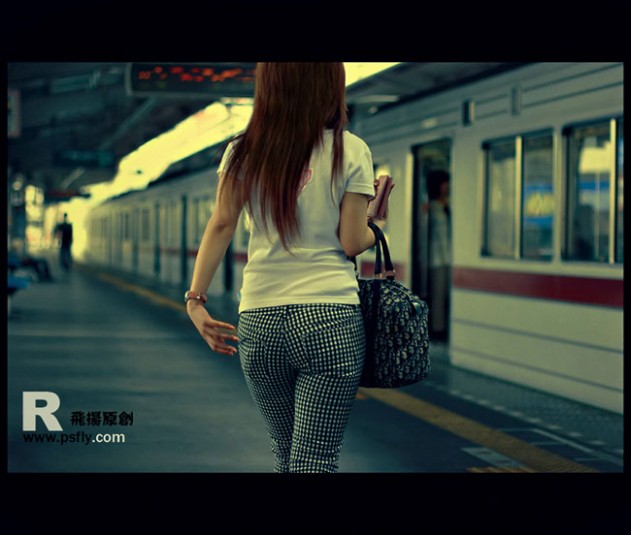
最终效果
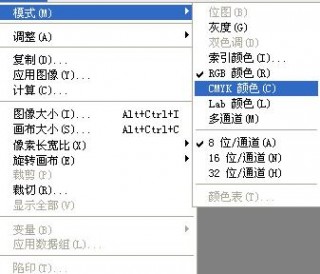
1、打开素材,调成模式为CYMK模式。
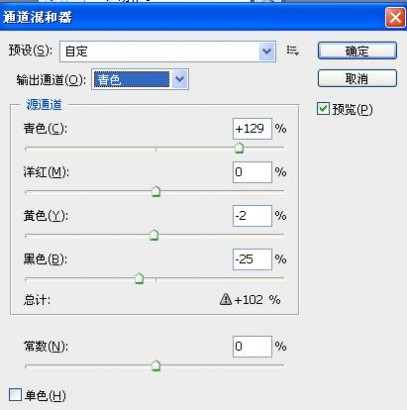
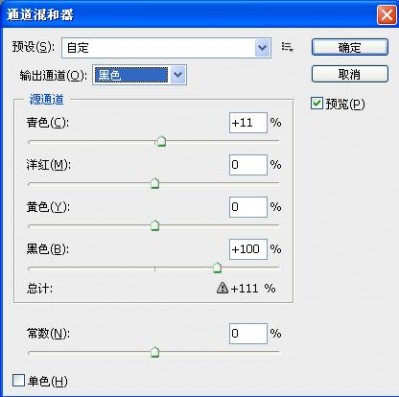
2、调整通道混合器。

3、调整可选颜色。


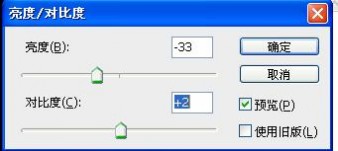
4、调整亮度对比度。
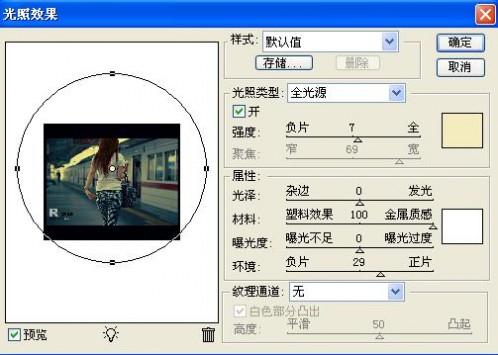
5、设置光照效果(滤镜 > 渲染 > 光照效果)。
最终效果:
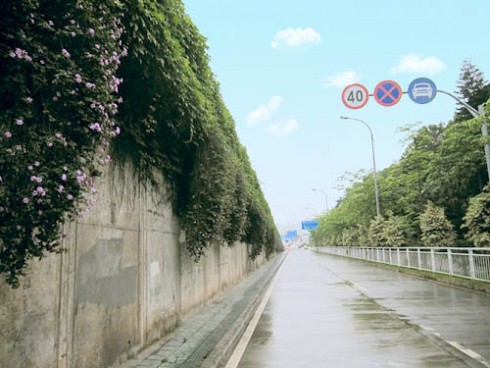
三 : Photoshop调出公路图片青绿的非主流色调
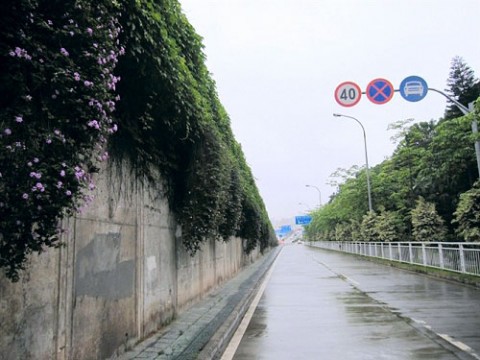
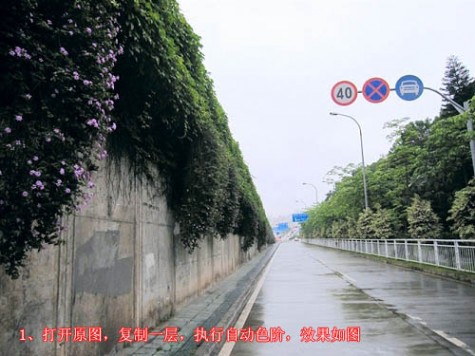
原图
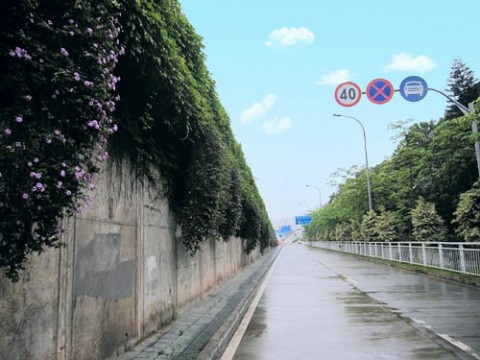
最终效果

1、打开原图,复制一层,执行自动色阶。
2、为了选出天空,进行计算,如图设置,连续计算三次。
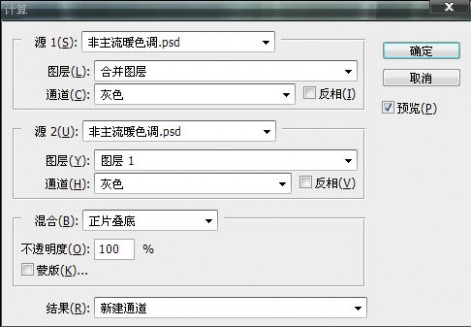
3、下面的白色部分就是天空选区。
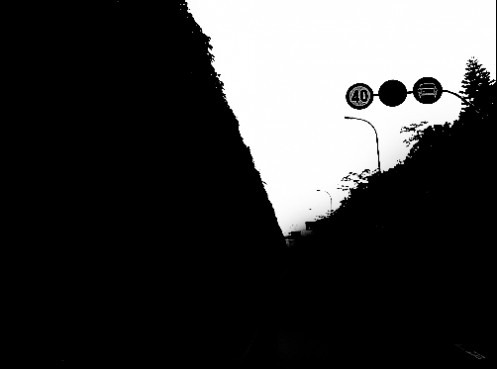
4、打开通道面板,按住ctrl单击Alpha3通道,载入天空选区,用渐变工具由上往下拉出一个青色到白的色彩渐变,用笔刷加上一些白云,效果如图。
5、新建纯色图层 #fff5b4,图层模式柔光,不透明度50%,效果如图。
6、新建照片滤镜,参数和效果如图。

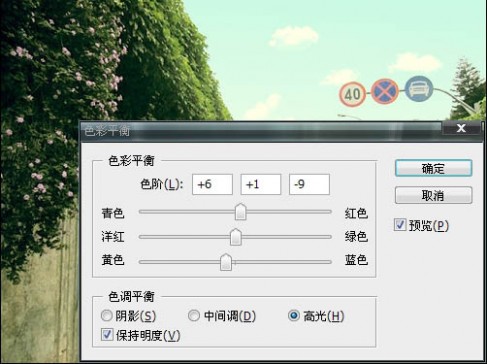
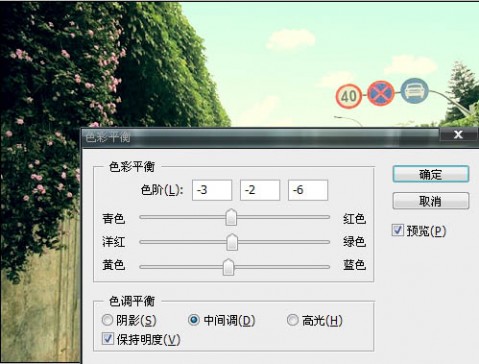
7、新建色彩平衡层,参数和效果如图。

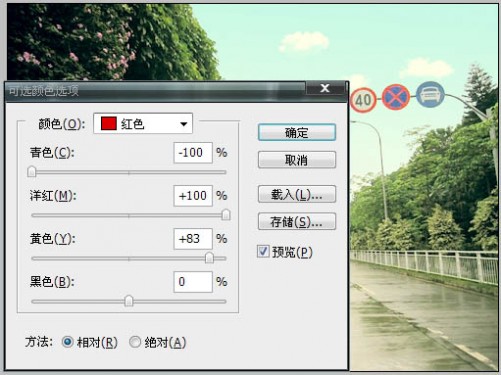
8、新建可选颜色,加强路牌上的红色,以便加强图片色彩对比。
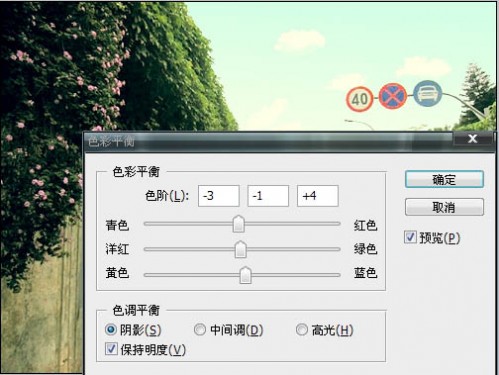
9、再新建色彩平衡层,参数如图。

10、按住ctrl+alt+~选取高光,新建照片滤镜。

11、盖印图层,适当锐化,完成最终效果。
四 : Photoshop调出人物图片青红的非主流色调
原图

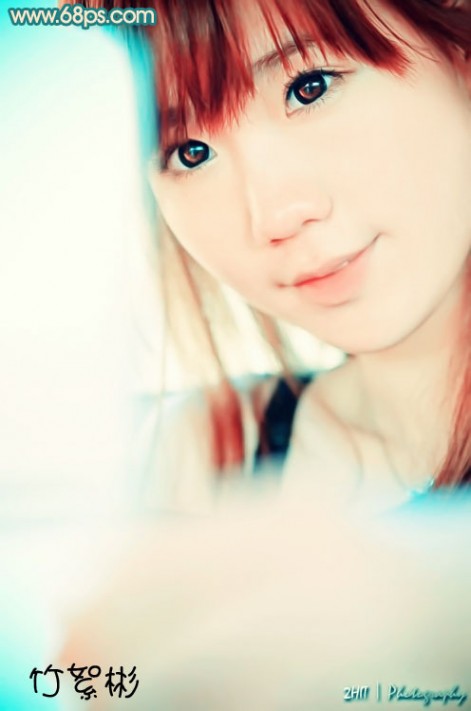
最终效果
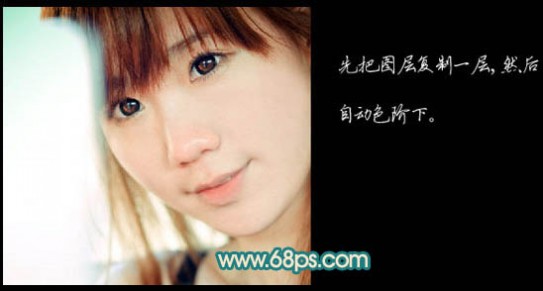
1、打开原图素材,把背景图层复制一层,执行:图像 > 调整 > 自动色阶。
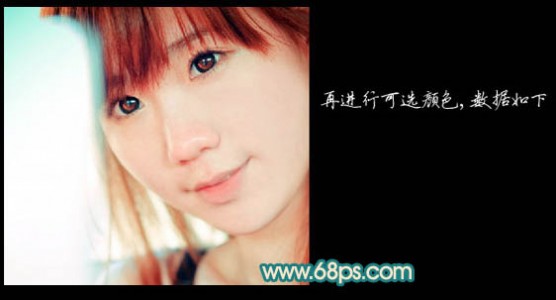
2、创建可选颜色调整图层,参数及效果如下图。

3、创建亮度/对比度调整图层,参数及效果如下图。

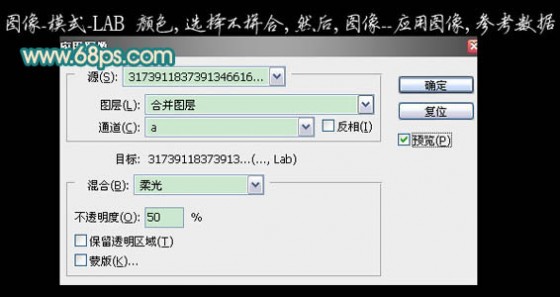
4、新建一个图层,按Ctrl + Alt + Shift + E 盖印图层。选择菜单:图像 > 模式 > Lab颜色,选择不合拼,然后执行:图像 > 应用图像,参数设置如下图。
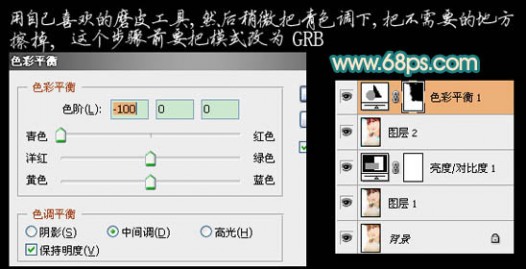
5、选择菜单:图像 > 模式 > RGB颜色,确定后创建色彩平衡调整图层,对中间调进行调整,参数设置如下图。确定后用黑色画笔把不需要的部分擦出来,效果如下图。
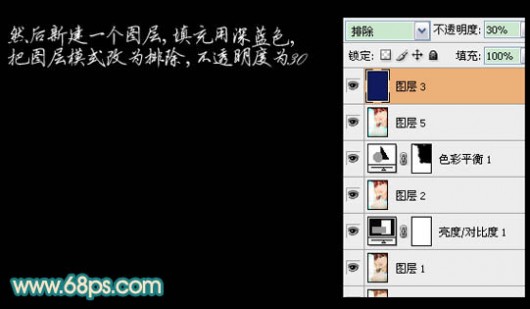
6、新建一个图层,填充深蓝色,图层混合模式改为“排除”,不透明度改为:30%。
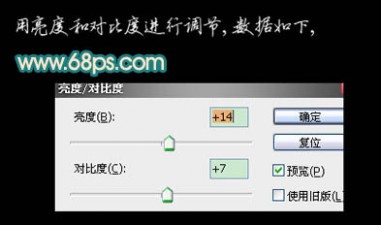
7、创建亮度/对比度调整图层,参数设置如下图。
8、新建一个图层,盖印图层,看下有没有细节方面要修饰的,可以适当美化一下。

下图为最终效果及图层参照。

本文标题:
非主流图片-Photoshop调出人物图片淡青的非主流色调 本文地址:
http://www.61k.com/1072668.html