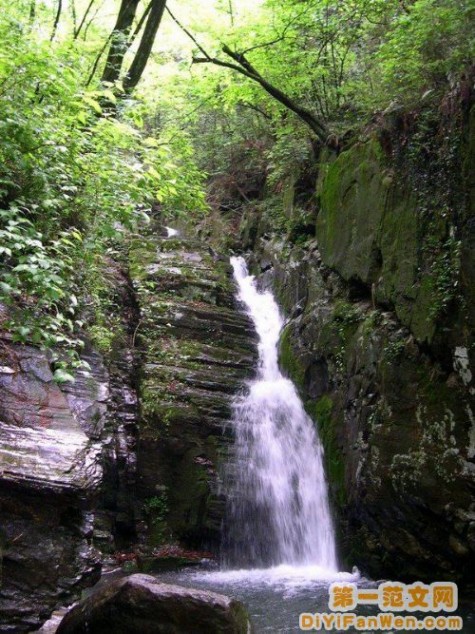
一 : 黄龙泉风景图片

提示:
1.本文提供黄龙泉旅游景点相关的风景图片及山水图片欣赏。
2.图片经过缩放处理,请点击图片在新窗口打开查看原图,或将图片存盘至电脑中查看。
3.本风景图片为网友推荐而来,版权归属原作者、原出处所有。在本站展示仅为网友借鉴、欣赏他人作品时提供方便。
4.图片上如有本站站名或网址字样,仅起标示作用,不代表本站版权所有,请勿用于任何商业用途。如有任何疑问,请与本站联系。
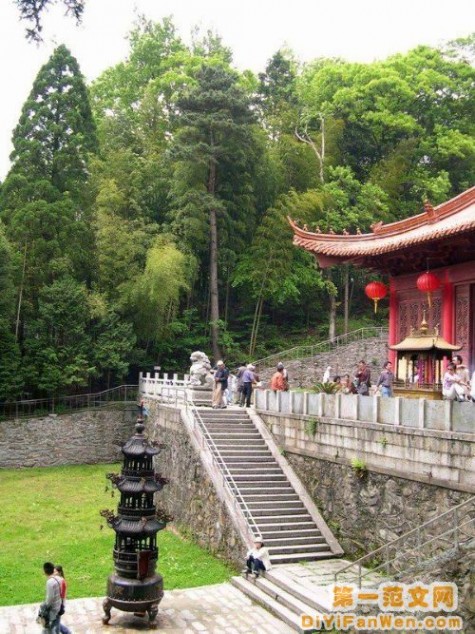
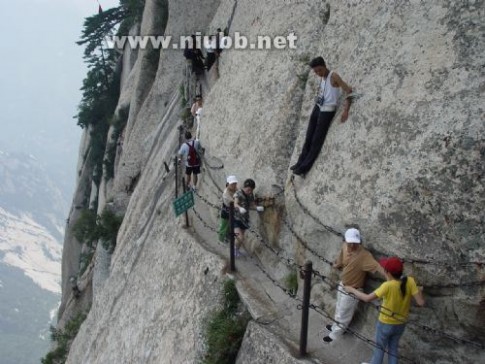
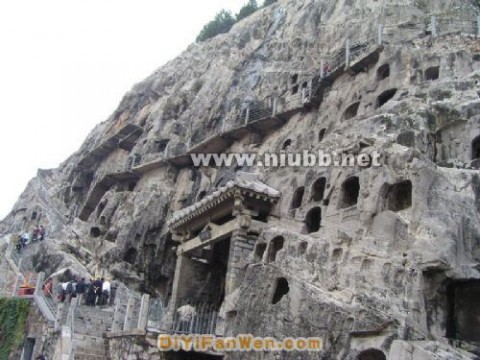
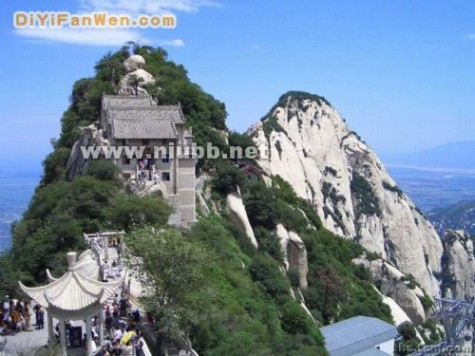
二 : 华山风景风景图片

三 : Photoshop将风景图片调成流行的青黄色
原图

最终效果

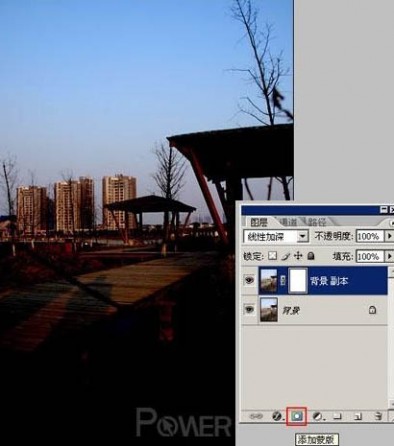
1、打开文件,复制背景图层,把图层模式改为线性加深。
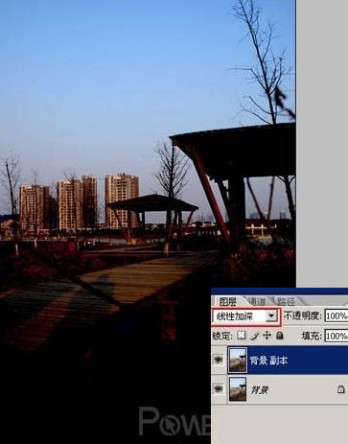
2、添加蒙版。
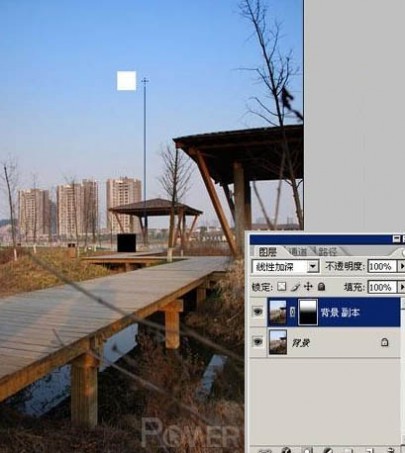
3、选择渐变工具,把前景色调为白色,背景色为黑色,在蒙版上从上到下渐变。
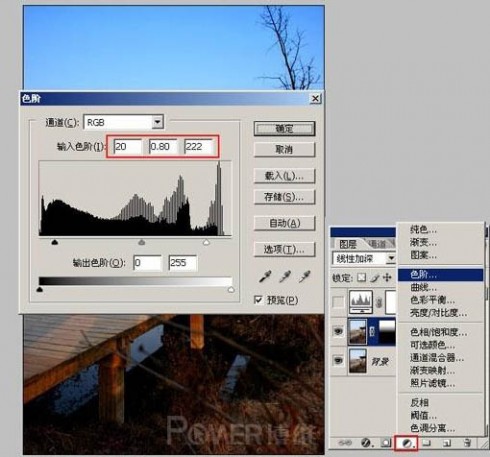
4、选择色阶调色层,色阶调为20、0.8、222。
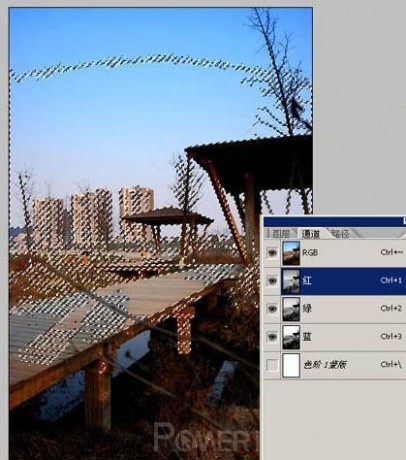
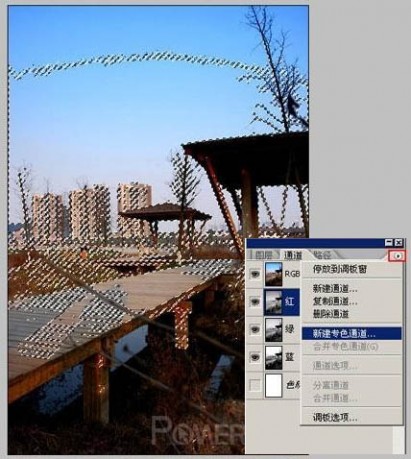
5、进入通道,按住ctcl键点击红色通道,得到红色通道的选区。
6、点击新建专色通道。
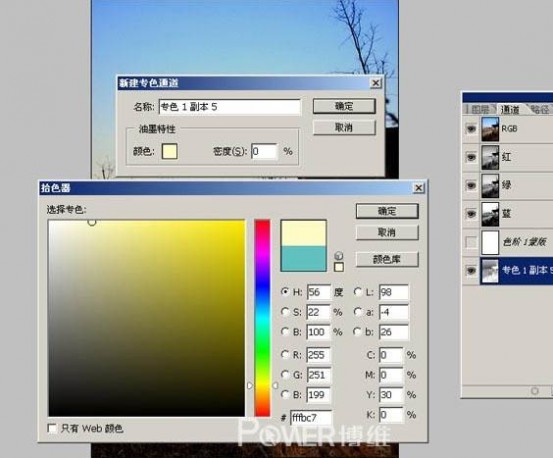
7、点击颜色,色值调为Y:30。
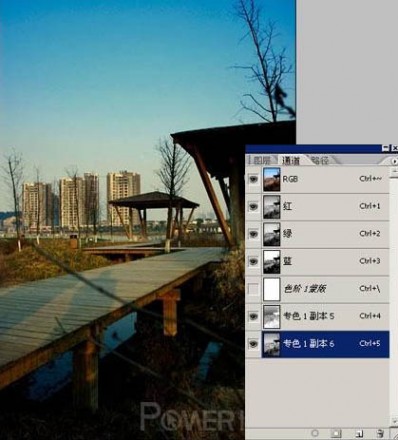
8、复制专色通道,对复制的专色通道进行反相(ctrl+i)。

9、双击复制的专色通道,将色值调为:C:60,M:0,Y:30,K:0。

10、现在把通道里的红、绿、蓝和专色通道一起显示,得到下面效果。
11、发现木桥部分太暗,层次不强, 选择画笔工具(笔头在一点),前景色为白色,不透明度50,在桥面部分擦拭。

最终效果:
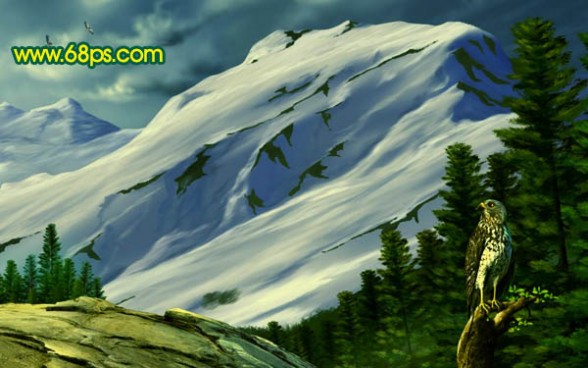
四 : Photoshop 暮色下青黄色的风景图片
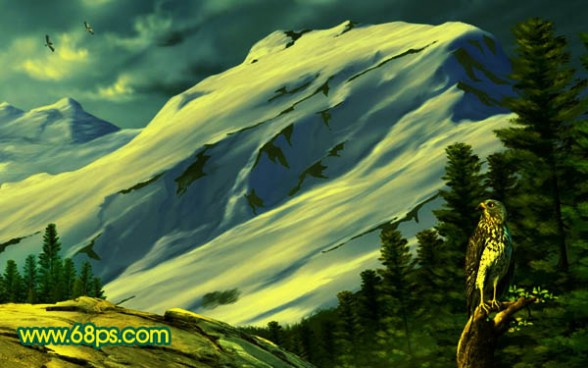
原图

<点小图查看大图>
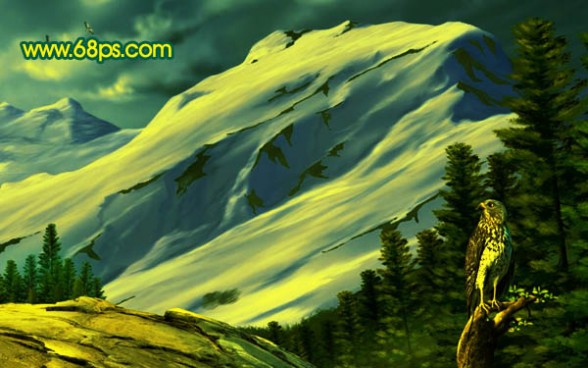
最终效果

<点小图查看大图>
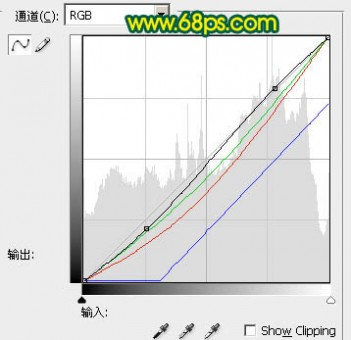
1、打开原图素材,创建曲线调整图层,对个通道进行调整,参数设置如图1 - 4,效果如图5。
<图1>

<图2>
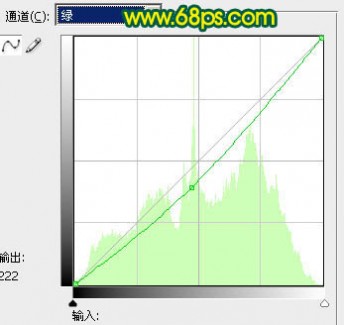
<图3>
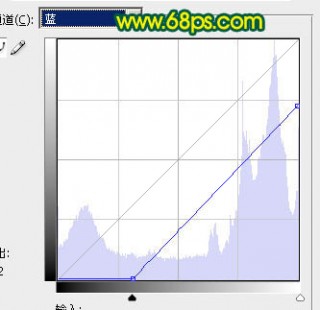
<图4>
<图5>
2、把曲线调整图层复制一层,图层不透明度改为:50%,如下图。
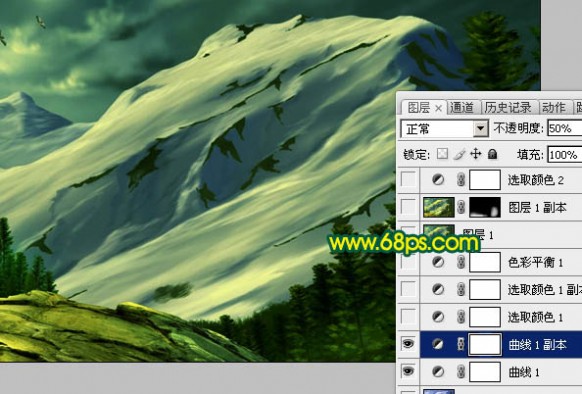
<图6>
3、创建可选颜色调整图层,参数设置如图7 - 9,效果如图10。

<图7>
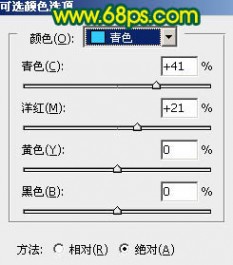
<图8>
<图9>
<图10>
4、把可选颜色调整图层复制一层,图层不透明度改为:30%,如下图。

<图11>
5、创建色彩平衡调整图层,参数设置如图12,效果如图13。

<图12>
<图13>
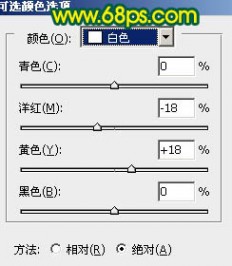
6、创建可选颜色调整图层,对红、黄调整,参数设置如图14,15,效果如图16。
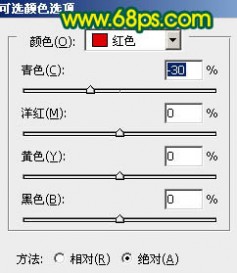
<图14>
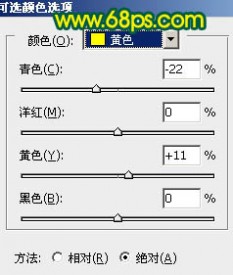
<图15>
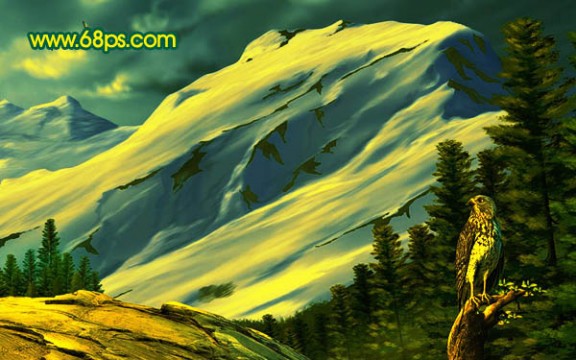
<图16>
7、把当前的可选颜色调整图层复制一层,图层不透明度改为:20%,效果如下图。
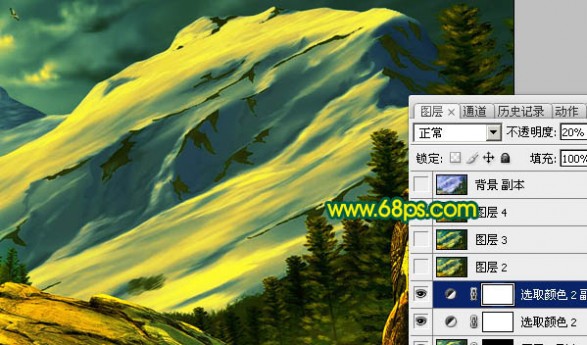
<图17>
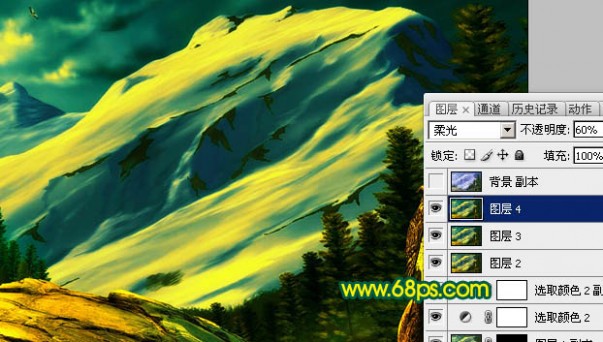
8、新建一个图层,按Ctrl + Alt + Shift + E 盖印图层。执行:滤镜 > 模糊 > 高斯模糊,数值为5,确定后把图层混合模式改为“柔光”,图层不透明度改为:60%,如下图。
<图18>
9、新建一个图层,盖印图层,调整下整体颜色,完成最终效果。
<点小图查看大图>
本文标题:
黄山风景图片-黄龙泉风景图片 本文地址:
http://www.61k.com/1079332.html